Build Your Own LLM Chatbot with Python & LangChain (Part 1)
Posted on 23 Feb 2026
Introduction
Everyone says building a chatbot with LLMs is easy. Just call an API, send a prompt, and get a response.
That illusion lasts exactly until you try to turn it into something real — structured, extensible, configurable, and production-ready.
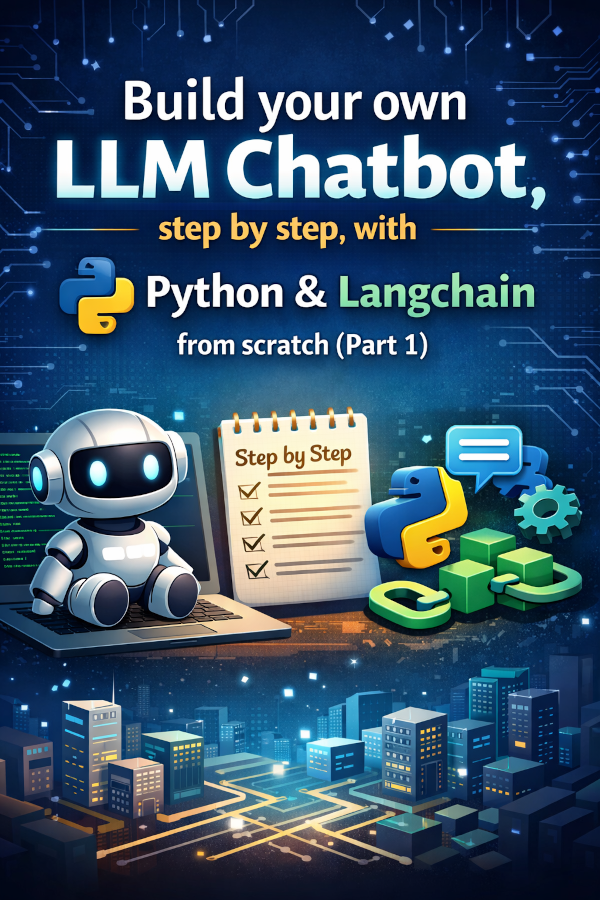
This article walks you through the process step by step, using Python and LangChain. Instead of jumping directly to advanced patterns, we will progressively build a chatbot from the ground up — understanding each layer as we go.
You should read this article if:
- You want to move beyond basic LLM API calls
- You want to understand how LangChain actually works
- You want a clean mental model before building more complex systems like RAG
The content is based on a structured GitHub tutorial series:
👉 https://github.com/sasadangelo/langchain-tutorials
The final result of these lessons will be ChatterPy: a Python LLM chatbot built with LangChain, multi-provider, multi-protocol, multi-model, highly configurable, and ready to support Retrieval-Augmented Generation (RAG).
Let’s start by clarifying three foundational concepts that often create confusion: Providers, Protocols, and Models.
Providers, Protocols, and Models
When working with LangChain, the same chatbot can run on different vendors, different APIs, and even locally. To avoid confusion, you must clearly separate three concepts: Providers, Protocols, and Models.
Providers
Providers are the companies that give you access to LLMs.
Examples:
- OpenAI
- Anthropic
- IBM
- Meta
They expose APIs (usually via API keys) and handle hosting, billing, and infrastructure.
When you configure credentials in LangChain, you are selecting a provider. Some providers, like Meta, give you tools (e.g. Ollama) to run the models on your local machines.
Protocols
A protocol defines how your application talks to the model. Important distinction:
OpenAI (the company) is not the same as the OpenAI API protocol.
The OpenAI API format has become a de facto standard. Many tools support it, including:
- Ollama
- llama.cpp
If two systems expose the same protocol, your LangChain code often doesn’t need to change. However, there are other proprietary protocols like Ollama, Anthropic, WatsonX, etc. Usually, for each of them, LangChain offers a dedicated class.
Models
Models are the actual LLMs generating text. Examples:
- GPT models
- Claude models
- Llama models
- Granite models
Providers expose models. Protocols define how you call them. Models produce the output.
Understanding this separation makes your chatbot architecture flexible and portable.
First Step: Ask a Question, Get an Answer
Before building a structured chatbot, we start from the simplest possible interaction:
Send a question. Receive a response.
In this section, we show how to use three different protocols:
- Ollama
- OpenAI-compatible API
- WatsonX
The key idea is simple:
The combination of URL + API Key determines which provider you connect to.
Once the protocol is supported, switching provider often requires only configuration changes — not architectural changes.
Using Ollama (Local Runtime)
Ollama allows you to run models locally.
from langchain_core.messages.ai import AIMessage
from langchain_ollama import ChatOllama

# Connect to a local Ollama server
chat: ChatOllama = ChatOllama(model="llama3.1:latest")
response: AIMessage = chat.invoke(input="Who is Robinson Crusoe?")
print(response.content)
This connects to the Ollama server running locally (default: http://localhost:11434).
You can use any model downloaded in Ollama, such as:
- llama3.1
- deepseek
- mistral
Using the OpenAI Protocol
OpenAI defined an API format that has become a de facto standard. Many systems support it:
- OpenAI cloud (you need an API Key)
- Ollama
- llama.cpp
- LM Studio
- Other OpenAI-compatible servers
from dotenv import load_dotenv
from langchain_core.messages.ai import AIMessage
from langchain_openai import ChatOpenAI

load_dotenv()
chat: ChatOpenAI = ChatOpenAI(
    model="llama3.1:latest",
    base_url="http://localhost:11434/v1"
)
response: AIMessage = chat.invoke(input="Who is Robinson Crusoe?")
print(response.content)
By changing base_url and the API key, you can switch from a local server to OpenAI cloud — without changing the application logic.
Using WatsonX
IBM provides access to models through WatsonX.
import os
from typing import Any
from dotenv import load_dotenv
from ibm_watsonx_ai.metanames import GenTextParamsMetaNames as GenParams
from langchain_core.messages.ai import AIMessage
from langchain_ibm import ChatWatsonx

load_dotenv()
parameters: dict[str, Any] = {
    GenParams.DECODING_METHOD: "sample",
    GenParams.MIN_NEW_TOKENS: 1,
    GenParams.MAX_NEW_TOKENS: 200,
    GenParams.TEMPERATURE: 0.7,
}
space_id: str | None = os.getenv("WATSONX_SPACE_ID")
chat: ChatWatsonx = ChatWatsonx(
    model_id="ibm/granite-4-h-small",
    url="https://eu-de.ml.cloud.ibm.com",
    space_id=space_id,
    params=parameters,
)
response: AIMessage = chat.invoke(input="Who is Robinson Crusoe?")
print(response.content)
What Matters Architecturally
Notice that in all three cases the interaction pattern is identical:
response = chat.invoke(input="...")
print(response.content)
Only the configuration changes. This is the foundation of a multi-provider, multi-protocol chatbot architecture — and it is the first building block of ChatterPy.
Streaming Responses
invoke waits for the LLM to finish generating the entire response before returning it. On long answers this creates a noticeable delay — you stare at a blank line until the model is done. Modern chatbots like ChatGPT and Claude mitigate this with streaming: text appears word-by-word as it is generated.
All three Chat<Provider> classes expose a stream method alongside invoke. Instead of returning a single AIMessage, it yields AIMessageChunk objects one at a time. The code is identical across all providers:
for chunk in chat.stream(input="Who is Robinson Crusoe?"):
    print(chunk.content, end="", flush=True)
print("")
end="" keeps chunks on the same line; flush=True makes each chunk appear immediately; the final print("") moves to a new line. Everything else — configuration, factory, tools — stays the same; you only swap invoke for stream where you print the response.
Project Setup and Dependency Management
A robust Python chatbot requires a robust project structure.
Dependency management, separation between production and development dependencies, reproducible environments, and tools like pre-commit hooks are not optional in serious projects.
For dependency management, I recommend using uv, which provides fast and deterministic environment resolution.
I have already covered proper Python project setup in detail in this article. The project used in this tutorial is based on the following blueprint.
If you want to understand the full setup (dependencies, tooling, configuration, project layout), please refer to that article.
Configuration-Driven Approach
In Lesson 1 we saw that switching between providers, protocols, and models is mostly a configuration concern.
In Lesson 2, we introduce a configuration-driven approach.
Instead of hardcoding provider logic, we define everything in a config.yaml file:
protocol:
  name: "ollama"
  api_url: http://localhost:11434
  model:
    name: "llama3.1:latest"
See the full example here. The idea is simple:
- Non-secret configuration → loaded from
config.yaml - Secrets (API keys, etc.) → loaded from
.env
Configuration loading and validation are handled using Pydantic Settings, which I previously covered in detail in this article. At application startup:
- The configuration is loaded
- Values are validated
- Defaults are applied
- If something is wrong, the application fails immediately
This approach ensures that:
- Validation logic is centralized
- The rest of the code uses already validated parameters
- Provider switching remains purely configurational
The configuration implementation is available here. Since configuration management is not the main focus of this article, I recommend reading the code directly for implementation details.
Using the Factory Method for Protocol Instantiation
Once configuration is externalized, the next step is to leverage it to dynamically instantiate the correct protocol implementation.
Instead of spreading if/else logic across the codebase, we introduce:
- A common abstraction
- Concrete protocol implementations
- A Factory Method
Define a Common Interface
We start with an abstract base class:
from abc import ABC, abstractmethod
from langchain_core.language_models.base import LanguageModelInput
from langchain_core.messages import AIMessage

class LLMProtocol(ABC):
    def __init__(self) -> None:
        self.create_protocol()
    @abstractmethod
    def create_protocol(self) -> None:
        pass
    @abstractmethod
    def invoke(self, messages: LanguageModelInput) -> AIMessage:
        pass
This guarantees that every provider implementation exposes the same interface.
Implement a Concrete Protocol
For example, the Ollama implementation:
from core import chatterpy_config
from langchain_core.language_models.base import LanguageModelInput
from langchain_core.messages import AIMessage
from langchain_ollama import ChatOllama
from protocols.protocol import LLMProtocol

class OllamaProtocol(LLMProtocol):
    def create_protocol(self) -> None:
        self._protocol = ChatOllama(
            model=chatterpy_config.protocol.model.name
        )
    def invoke(self, messages: LanguageModelInput) -> AIMessage:
        return self._protocol.invoke(input=messages)
Each provider (OpenAI, WatsonX, etc.) implements the same contract.
The Factory Method
Finally, we centralize protocol selection:
from typing import Any
from core import ProtocolName, chatterpy_config
from protocols.ollama_protocol import OllamaProtocol
from protocols.openai_protocol import OpenAIProtocol
from protocols.watsonx_protocol import WatsonXProtocol
from protocols.protocol import LLMProtocol

class LLMProtocolFactory:
    protocols: dict[ProtocolName, Any] = {
        ProtocolName.OLLAMA: OllamaProtocol,
        ProtocolName.OPENAI: OpenAIProtocol,
        ProtocolName.WATSONX: WatsonXProtocol,
    }
    @classmethod
    def get_protocol(cls) -> LLMProtocol:
        protocol_name = chatterpy_config.protocol.name
        protocol_class = cls.protocols.get(protocol_name)
        if not protocol_class:
            raise ValueError(f"Unsupported provider: {protocol_name}")
        return protocol_class()
Now the application simply calls
protocol = LLMProtocolFactory.get_protocol()
And the correct implementation is instantiated based on configuration.
Why This Matters
- Provider switching becomes purely configurational
- No conditional logic leaks into business code
- The system is open for extension (add new protocol class)
- The architecture remains clean and testable
This is the foundation of a multi-provider, multi-protocol, and multi-model chatbot architecture.
The ChatBot Loop
Once configuration allows you to choose provider, protocol, and model, a chatbot is nothing more than an infinite loop of interactions:
from dotenv import load_dotenv
from langchain_core.messages import AIMessage, HumanMessage
from protocols import LLMProtocol, LLMProtocolFactory

load_dotenv()
protocol: LLMProtocol = LLMProtocolFactory.get_protocol()
try:
    while True:
        user_input: str = input("You: ")
        ai_response: AIMessage = protocol.invoke(
            messages=[HumanMessage(content=user_input)]
        )
        print(f"Assistant: {ai_response.content}")
except EOFError:
    print("\nBye.")
That’s it. A chatbot is simply:
- Read user input
- Send it to the model
- Print the response
- Repeat
Why LangChain Message Classes Matter
Notice the use of HumanMessage and AIMessage. These abstractions hide protocol-specific details.
Different models expect different prompt formats. For example:
- IBM Granite models define their own prompting structure.
- Meta Llama models use a different chat template and message formatting.
Without abstraction, you would need to manually adapt prompts for each provider.
LangChain normalizes this through message classes, allowing your chatbot loop to remain identical across:
- Providers
- Protocols
- Models
This completes the foundation of ChatterPy: a configuration-driven, multi-provider, multi-protocol chatbot built around a simple but powerful loop.
The Context Problem
When you talk to ChatGPT, it feels like the chatbot understands context and remembers previous messages. In reality, an LLM is just a function:
Input text → Output text
It has no memory. The perception of memory is an illusion created by sending previous messages back to the model at every interaction.
If you ask:
“Who is Robinson Crusoe?”
The model will answer correctly. But if you immediately follow with:
“How did he get to the desert island?
Our current chatbot will likely respond that it does not know who “he” refers to and will ask for more context.
Why?
Because we are only sending the last message to the model. There is no conversation history being preserved.
This is the context problem.
A real chatbot must:
- Store previous messages
- Re-send them to the model at each step
- Manage token limits
- Decide what to keep and what to discard
In other words, we must explicitly implement the illusion of memory.
We will address this problem — and implement conversation memory properly — in the next article.
Conclusion
In this article, we built the foundation of a multi-provider, multi-protocol, and multi-model chatbot using Python and LangChain. We covered:
- The distinction between providers, protocols, and models
- How to manage configuration and secrets with Pydantic Settings
- Using a factory method to dynamically instantiate the correct provider and protocol
- A simple ChatBot loop to handle user input and model responses
- The context problem, highlighting the need for explicit conversation memory
The next step will be to implement memory and context management, turning ChatterPy from a simple loop into a conversational agent capable of maintaining state and context across multiple interactions.
If you enjoyed this article, don’t forget to give it a clap 👏, share it with your friends 🔗, and follow me for more tips and tutorials on software development 📘. Your support helps me create more content like this — thank you! 🙌